How to Create a Custom Credential Design (Without a Designer)
Most credential platforms give you a list of templates to choose from and limited customization — change the color, add a logo, and that's roughly it. The result is credentials that look like credentials from that platform, not like your organization.
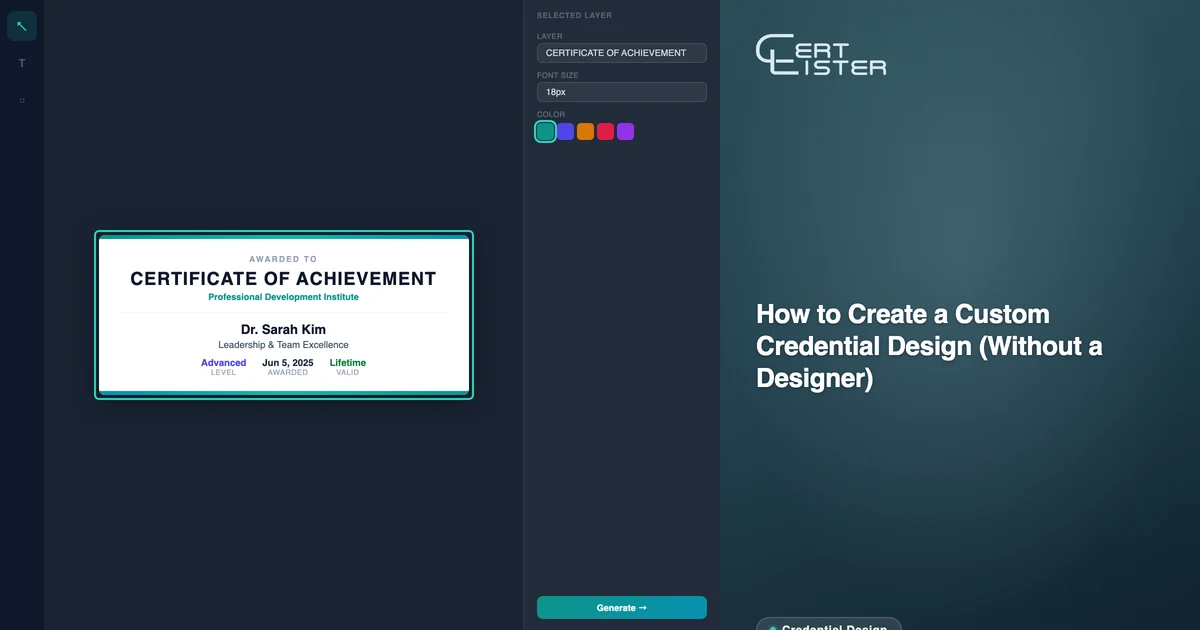
CertLister's Design Studio is different. It includes digital credential design tools built around a full canvas editor — drag text, images, shapes, and fields anywhere on the page, set custom fonts and colors, and upload your own background images. The result is a credential that looks exactly like you want it to, not like a modified version of someone else's template.
This walkthrough covers how to build a credential design from scratch, even if you don't have a background in design.
Starting a New Design
Go to Design Studio from the sidebar. On the designs list, click New Design.
You'll choose a canvas size first:
- A4 Landscape (default) — standard credential format, 2480×1754px at 300 DPI. This is the right choice for most training certificates, compliance records, and professional credentials.
- Wallet Card (Pro) — credit card-sized, duplex (front and back), designed for physical card printing or digital wallet use.
For most organizations starting out, A4 Landscape is the right choice.
Building the Background
The background is the foundation of the credential. You have two paths:
Use a preset template. Click Templates in the left sidebar. CertLister includes a library of background designs across several visual styles — classic parchment-style, modern minimal, branded color fills, and more. Selecting a template applies the background instantly. You can customize everything on top of it.
Upload your own background image. If your organization has a branded credential design already (from Canva, Illustrator, or a designer), export it as a JPG at 2480×1754px and upload it via Background → Upload Image. Your existing design becomes the canvas background, and you place the dynamic fields (recipient name, issue date, credential number) on top of it using the editor.
The upload path is the fastest way to get a pixel-perfect match with your brand if you have existing credential artwork.
Adding Dynamic Fields
Dynamic fields are placeholders that fill with real data when a credential is generated. They're what makes a single template produce thousands of personalized credentials.
To add a dynamic field:
- Click Add Element → Text Field
- Click the field type selector and choose from the available fields: Recipient Name, Credential Title, Issue Date, Expiry Date, Credential Number, Category Name, or any custom attribute you've configured for the category
- Position the field on the canvas by dragging it to the right location
- Style it: font family, font size, color, alignment, bold/italic
Recipient Name is the most important field to get right. Set it to a large, prominent font — this is the element recipients look at first. Use a serif font for traditional credentials, a clean sans-serif for modern designs.
For placement guidance: the recipient name typically sits in the center of the credential, below the credential title. Issue date and expiry date go near the bottom. Credential number goes bottom-right or as a small element near the QR code.
Adding Static Elements
Static elements appear on every credential generated from this template — they don't change per recipient.
Your organization name and logo. Add your logo via Add Element → Image, upload the file, and position it in the header area. For text-based org names, use a Text element and type your organization's name directly.
Credential title. If every credential from this template has the same title (e.g., "Certificate of Completion — WHMIS Training"), add it as a static text element. If the title varies per recipient, use the dynamic Credential Title field instead.
Decorative elements. Lines, borders, shapes, and accent elements are all available under Add Element → Shape. These add visual structure to the credential — a horizontal rule between the header and body, a border frame around the credential, icon elements in the corners.
Issuer signature line. Many organizations include a signature image (scanned from an actual signature) and a name/title line below it. Upload the signature as a PNG with a transparent background, position it in the bottom-left, and add a static text element with the signatory's name and title below.
Adding the QR Code
The QR code links to the public verification page for each individual credential. Add it via Add Element → QR Code. Position it in one of the bottom corners — bottom-right is the most common placement.
Size the QR code large enough to scan reliably from a printed credential. 200×200px on the canvas is a reasonable minimum; larger is safer.
The QR code is dynamic — each generated credential gets a unique QR code pointing to that specific credential's verification URL. You don't need to configure anything beyond placing it.
Previewing and Testing
Before saving the template, click Preview to see how a generated credential will look with sample data filled in. The preview replaces field placeholders with example values so you can check typography, alignment, and spacing with realistic content.
Common issues to check in preview:
- Long recipient names overflowing text fields — increase the field width or reduce font size
- Date formats — verify they display in your preferred format
- QR code position — make sure it doesn't overlap other elements
Once the preview looks right, click Save. The template is now available to assign to a category.
Assigning the Template to a Category
A credential template only generates PDFs when it's associated with a category. In CertLister, each category can have one or more credential designs, and you choose which design to use at generation time (or set a default).
To assign:
- Go to Categories and open the category you want to use the design for
- Under Credential Design, select the design you just created
- Save the category settings
Now when you issue credentials in this category — individually, via import, or via bulk generation — CertLister uses your custom template for every PDF generated. For a full walkthrough of issuing verifiable credentials to recipients, see our dedicated guide.
Tips for Better-Looking Credentials
Use a two-color palette. Choose your organization's primary brand color and a neutral (white, light gray, or cream). Use the brand color for headers and accent elements; keep the body clean. Busy, multicolor designs look unprofessional.
Generous margins. Credentials with content pushed to the edges look cramped. Leave at least 60–80px of clear space around the perimeter.
Make the recipient's name the largest text element. The credential is about the recipient. Their name should be the visual focus, not the issuing organization's logo.
Test at actual print size. If recipients will print the credential, print a test copy on A4 paper before finalizing. Text that looks fine on screen can become unreadably small at print size.
Use PDF, not screenshot. The final credential is a generated PDF, not a screenshot of the canvas. The PDF output is higher quality than the canvas preview — evaluate the final design from a downloaded PDF, not the editor preview. If you're still deciding between formats, see our breakdown of digital badge vs PDF credential to choose what's right for your use case.
The Design Studio is built for non-designers. You don't need Figma skills or graphic design experience — you need a clear sense of what your organization's credentials should look like, and the patience to iterate a few times until the preview looks right. Most organizations get to a design they're happy with in under an hour.
See it in action — no card, no commitment
Join schools, companies, and training centers using CertLister. Free plan available, no credit card required.
Get Started Free