How to Replace Your Spreadsheet for Employee Certification Tracking
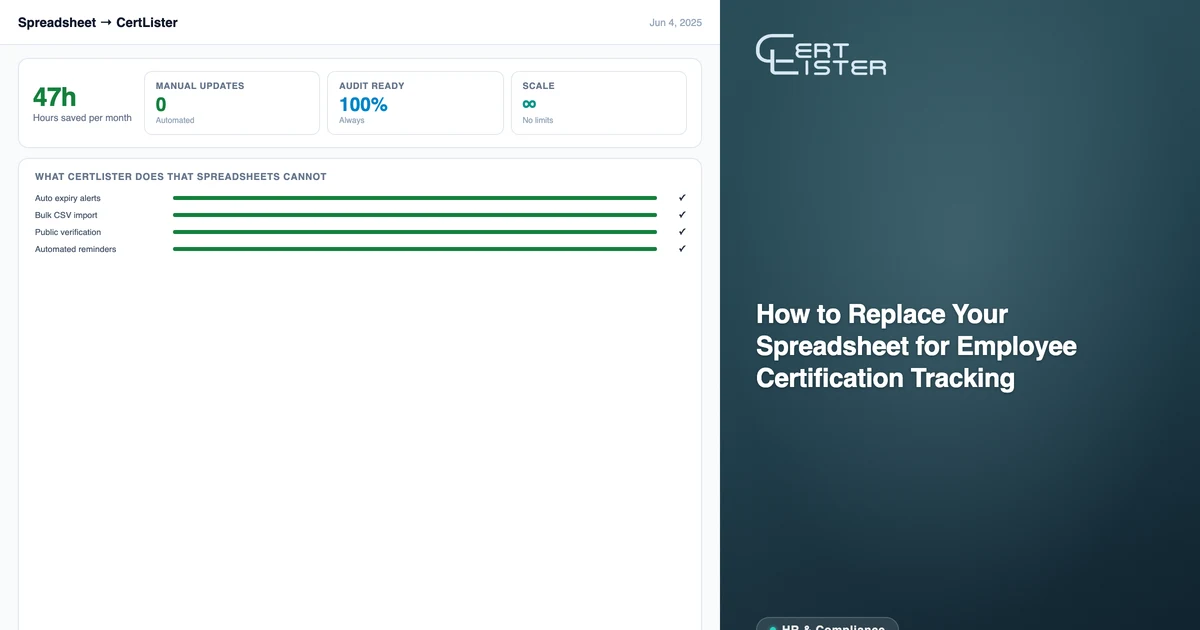
The spreadsheet usually starts as a reasonable solution. You have a dozen employees, a few certification types, and someone who keeps the tracker updated. Then the organization grows. New certification requirements get added. Staff turn over. The person who maintained the spreadsheet leaves, and for six months nobody is quite sure what's current.
This guide covers the practical process of migrating out of a spreadsheet and into employee certification tracking software — what to clean up before you migrate, how the import works, and what the system handles automatically once it's running.
The Problem With Spreadsheets for Certification Tracking
Spreadsheets are good at storing information. They're not built for notification, enforcement, or sharing.
The specific failures that make organizations switch:
No automatic reminders. A spreadsheet doesn't email anyone when a certification is about to expire. You either remember to check it regularly, or you miss expirations. Most organizations do both — they check periodically, miss some, and scramble when auditors or clients ask for documentation. Certification expiry tracking software flags what is about to expire, so nobody has to remember to look.
No verification mechanism. A spreadsheet can show you that an employee has a certification. It can't show an auditor, a client, or a jobsite supervisor the same thing in a trusted, verifiable format. You're always the intermediary — someone has to interpret the spreadsheet and report back.
No version control. Who updated the spreadsheet last? Did they save? Is the version the compliance officer has the same as the version HR has? Shared spreadsheets routinely drift.
Fragile when people leave. The institutional knowledge of how the spreadsheet works, what the tabs mean, and what "expiring" in column G actually means lives with the person who built it. When that person leaves, you're reverse-engineering your own compliance data.
Step 1: Clean Your Data Before You Migrate
Migration is a good forcing function for a data audit. Before you import anything into CertLister, spend an hour cleaning the spreadsheet.
Resolve duplicates. Employees who appear in multiple rows, sometimes with slightly different name spellings or email addresses, will create duplicate credential records if imported as-is. Decide on one canonical email address per person.
Standardize dates. If your spreadsheet has dates in multiple formats (some as May 2024, others as 05/2024, others as 2024-05-01), pick one format and convert. CertLister's importer handles most standard date formats, but inconsistencies within a single column cause errors.
Decide what to import. You don't have to import your full historical archive. A reasonable scope for an initial migration: all active certifications (not expired more than 2 years ago) with accurate issue and expiry dates. Historical records from five years ago probably don't need to be in the active system.
Fill in missing emails. Email is optional in CertLister, but it's how recipients receive their credential and reminders and sign in to the portal. A row with a malformed email address is flagged when you import. For employees who don't have work emails on record for certification purposes, decide now whether to use their work email or a placeholder.
Identify your certification types. List every distinct certification type in your spreadsheet. Each one will become a category in CertLister. This step makes the import cleaner because you'll import one certification type at a time.
Step 2: Set Up Your Categories
In CertLister, credentials are organized into categories — one per certification type. Before importing, create a category for each certification type you identified.
For each category, set:
- Name — the certification type (e.g., "First Aid Level C", "WHMIS 2015", "Forklift Operator")
- Default expiry — how long after issue date this certification is valid (e.g., 2 years). This pre-fills the expiry date field automatically during and after import.
- Credential design — if you want to generate PDFs, assign a template. You can skip this on first setup and add it later.
Setting the default expiry is particularly useful if your spreadsheet has some expiry dates and not others — any row you import without an explicit expiry date will calculate one automatically from the issue date.
Step 3: Export Your Spreadsheet to CSV
Export each certification type from your spreadsheet as a separate CSV file. One CSV per category keeps the import clean.
Your CSV needs at minimum a Recipient Name column — the one column CertLister actually requires. For new credentials, also include Title (skip it only if the category already has a default title) and Issue Date. Include Expiry Date for any rows where you have it — this is the core data that makes the system useful.
Custom fields — course code, instructor name, score, license number — are optional at import time. You can add them to credential records later, or configure them as category-level custom fields and map them in the Custom fields table when you import, if you have the data.
Step 4: Import Into CertLister
For each category:
- Go to Credentials in CertLister and click Import CSV
- Upload the CSV file for that certification type
- Map your CSV column headers to CertLister fields. If your headers match (Recipient Name, Recipient Email, Title, etc.), mapping happens automatically.
- Review the validation summary. The importer flags rows with invalid emails, missing required fields, or date format issues. You can download an error report and fix flagged rows before confirming.
- Confirm the import. Records appear in the category immediately.
Repeat for each certification type. If you're migrating a large organization with many certification types, budget an hour or two for the full import — most of that time is validating and fixing data, not the actual import.
Step 5: Set Up Expiry Reminders
The import gets your data in. Reminders and automatic status are what make the system actively useful. Both stay off until you turn them on.
Set your reminder schedule. In Settings → Notifications, choose when reminder emails go out: up to five steps, each a number of days before the expiry date — for example, 60 days and 14 days. One schedule covers your whole organization. Each email goes to the credential holder with their expiry date, plus a button to your renewal page if you add a Renewal link to the category.
Turn reminders on for each category. In the category's settings, switch on Send expiry reminder email. A credential gets reminder emails only when its category, or the credential itself, has reminders on.
Turn on Auto-expire. In the same settings, Auto-expire past expiry date marks a credential Expired once its expiry date has passed. This keeps your credentials list accurate without manual batch updates. The public verification page shows a credential as expired after its expiry date either way.
Add automations if you need more. An automation can run a set number of days before expiry to notify your admins as well as the holder, or, on Pro, pass the event to another system by webhook. The free plan includes one automation, Basic three, and Pro as many as you need.
Set this up once and it runs every day, without anyone checking a spreadsheet.
What You've Replaced
Once the migration is complete and automations are running, compare what you had with what you have:
| Task | Spreadsheet | CertLister |
|---|---|---|
| Tracking expiry dates | Manual column, easy to miss | Automatic Expired status, plus an "Expiring in 30/60/90 days" filter |
| Sending renewal reminders | Manual, easy to forget | Automatic, timed, consistent |
| Responding to "is this certification current?" | Manual search + reply | Share a verification URL |
| Audit documentation | Spreadsheet export + interpretation | Filterable list, CSV export, per-credential verify page |
| Re-issuing lost certificates | Search inbox, find PDF, re-send | Recipient self-serves from portal |
| Cross-checking who has what | Complex VLOOKUP or manual review | Filter by category + status |
The operational work doesn't disappear entirely — there are always edge cases, exceptions, and records that need human attention. But the routine work — monitoring expiry dates, sending reminders, answering verification requests — runs on its own. For a deeper look at how this all fits together, see our complete guide to employee certification tracking.
After Migration: Keeping It Current
The most common way organizations let a certification system drift back toward spreadsheets is by not keeping the import path clear.
For new employees and new certifications, establish a process: whenever a certification is completed, someone enters it in CertLister. The time investment per record is 60 seconds. The cost of not doing it is another silent gap in your records.
For active, recurring programs, you can take manual entry out of the loop entirely: the REST API (Pro) lets your registration system or LMS create credential records the moment someone completes a course, and if you run courses on Moodle, the native integration issues credentials on completion with no API work. For everything else, a periodic CSV import keeps batches quick. Good training records management practices make this ongoing maintenance straightforward.
The migration is the hard part. Once your records are in a system that surfaces expiry status and handles reminders automatically, the ongoing maintenance is minimal.
See it in action. No card, no commitment
Join schools, companies, and training centers using CertLister. Free plan available, no credit card required.
Get Started Free