
Getting Started with CertLister
Time to read: 3 minutes
What Is CertLister?
CertLister is a digital credential management platform for training providers, schools, professional associations, and HR teams. It lets you:
- Issue credentials — create digital credentials for course completions, qualifications, and achievements
- Generate PDFs — produce print-quality credential PDFs using the built-in Design Studio
- Track status — see which credentials are active, expired, or revoked at a glance
- Verify authenticity — give employers and recipients a public page to confirm any credential is genuine
- Automate delivery — send credentials to recipients by email and trigger expiry reminders automatically
How CertLister Is Organized
Organizations
When you create an account, CertLister creates an organization for you. Your credentials, categories, designs, and team members all belong to your organization. Each organization has its own public verification page.
Categories
Credentials are grouped into categories — one per type of certification you issue (e.g., "CPR Certification", "Food Safety", "Leadership Training"). Categories let you:
- Keep credentials organized
- Apply automation settings (issuance emails, expiry reminders) to an entire category at once
- Define custom data fields (score, instructor, permit number) per category type (Pro)
Create at least one category before issuing credentials.
Credentials
A credential is a record of one person completing one program. It holds:
- Recipient name and email
- Credential title and category
- Issue date and optional expiry date
- Status (Active, Expired, Revoked)
- An attached PDF — generated by the Design Studio or uploaded manually
Designs
The Design Studio is the visual editor for building credential layouts. You choose a background template, drag in text and attribute tokens, and save the result as a named design. When you generate a PDF, CertLister fills in the recipient's data and produces a print-quality file.
Your First 30 Minutes
The fastest path from sign-up to your first real credential:
Delete sample data — CertLister adds demo credentials and categories when you sign up. Remove them before adding real data.
Create a category — Go to Categories → + Create Category. Give it a name (e.g., "CPR Certification").
Create a credential — Go to Credentials → + Add Credential. Fill in the recipient name, title, issue date, and category.
Generate a PDF — Open the credential and click Generate PDF. Pick a design template — the Classic Gold template is available on all plans.
Test verification — Copy the credential number, open a private browser window, and go to your verification portal URL to confirm it shows correctly.
That's the full cycle. From here you can add more credentials, invite team members, set up automation, and customize your design.
Key Pages in the App
| Page | What it's for |
|---|---|
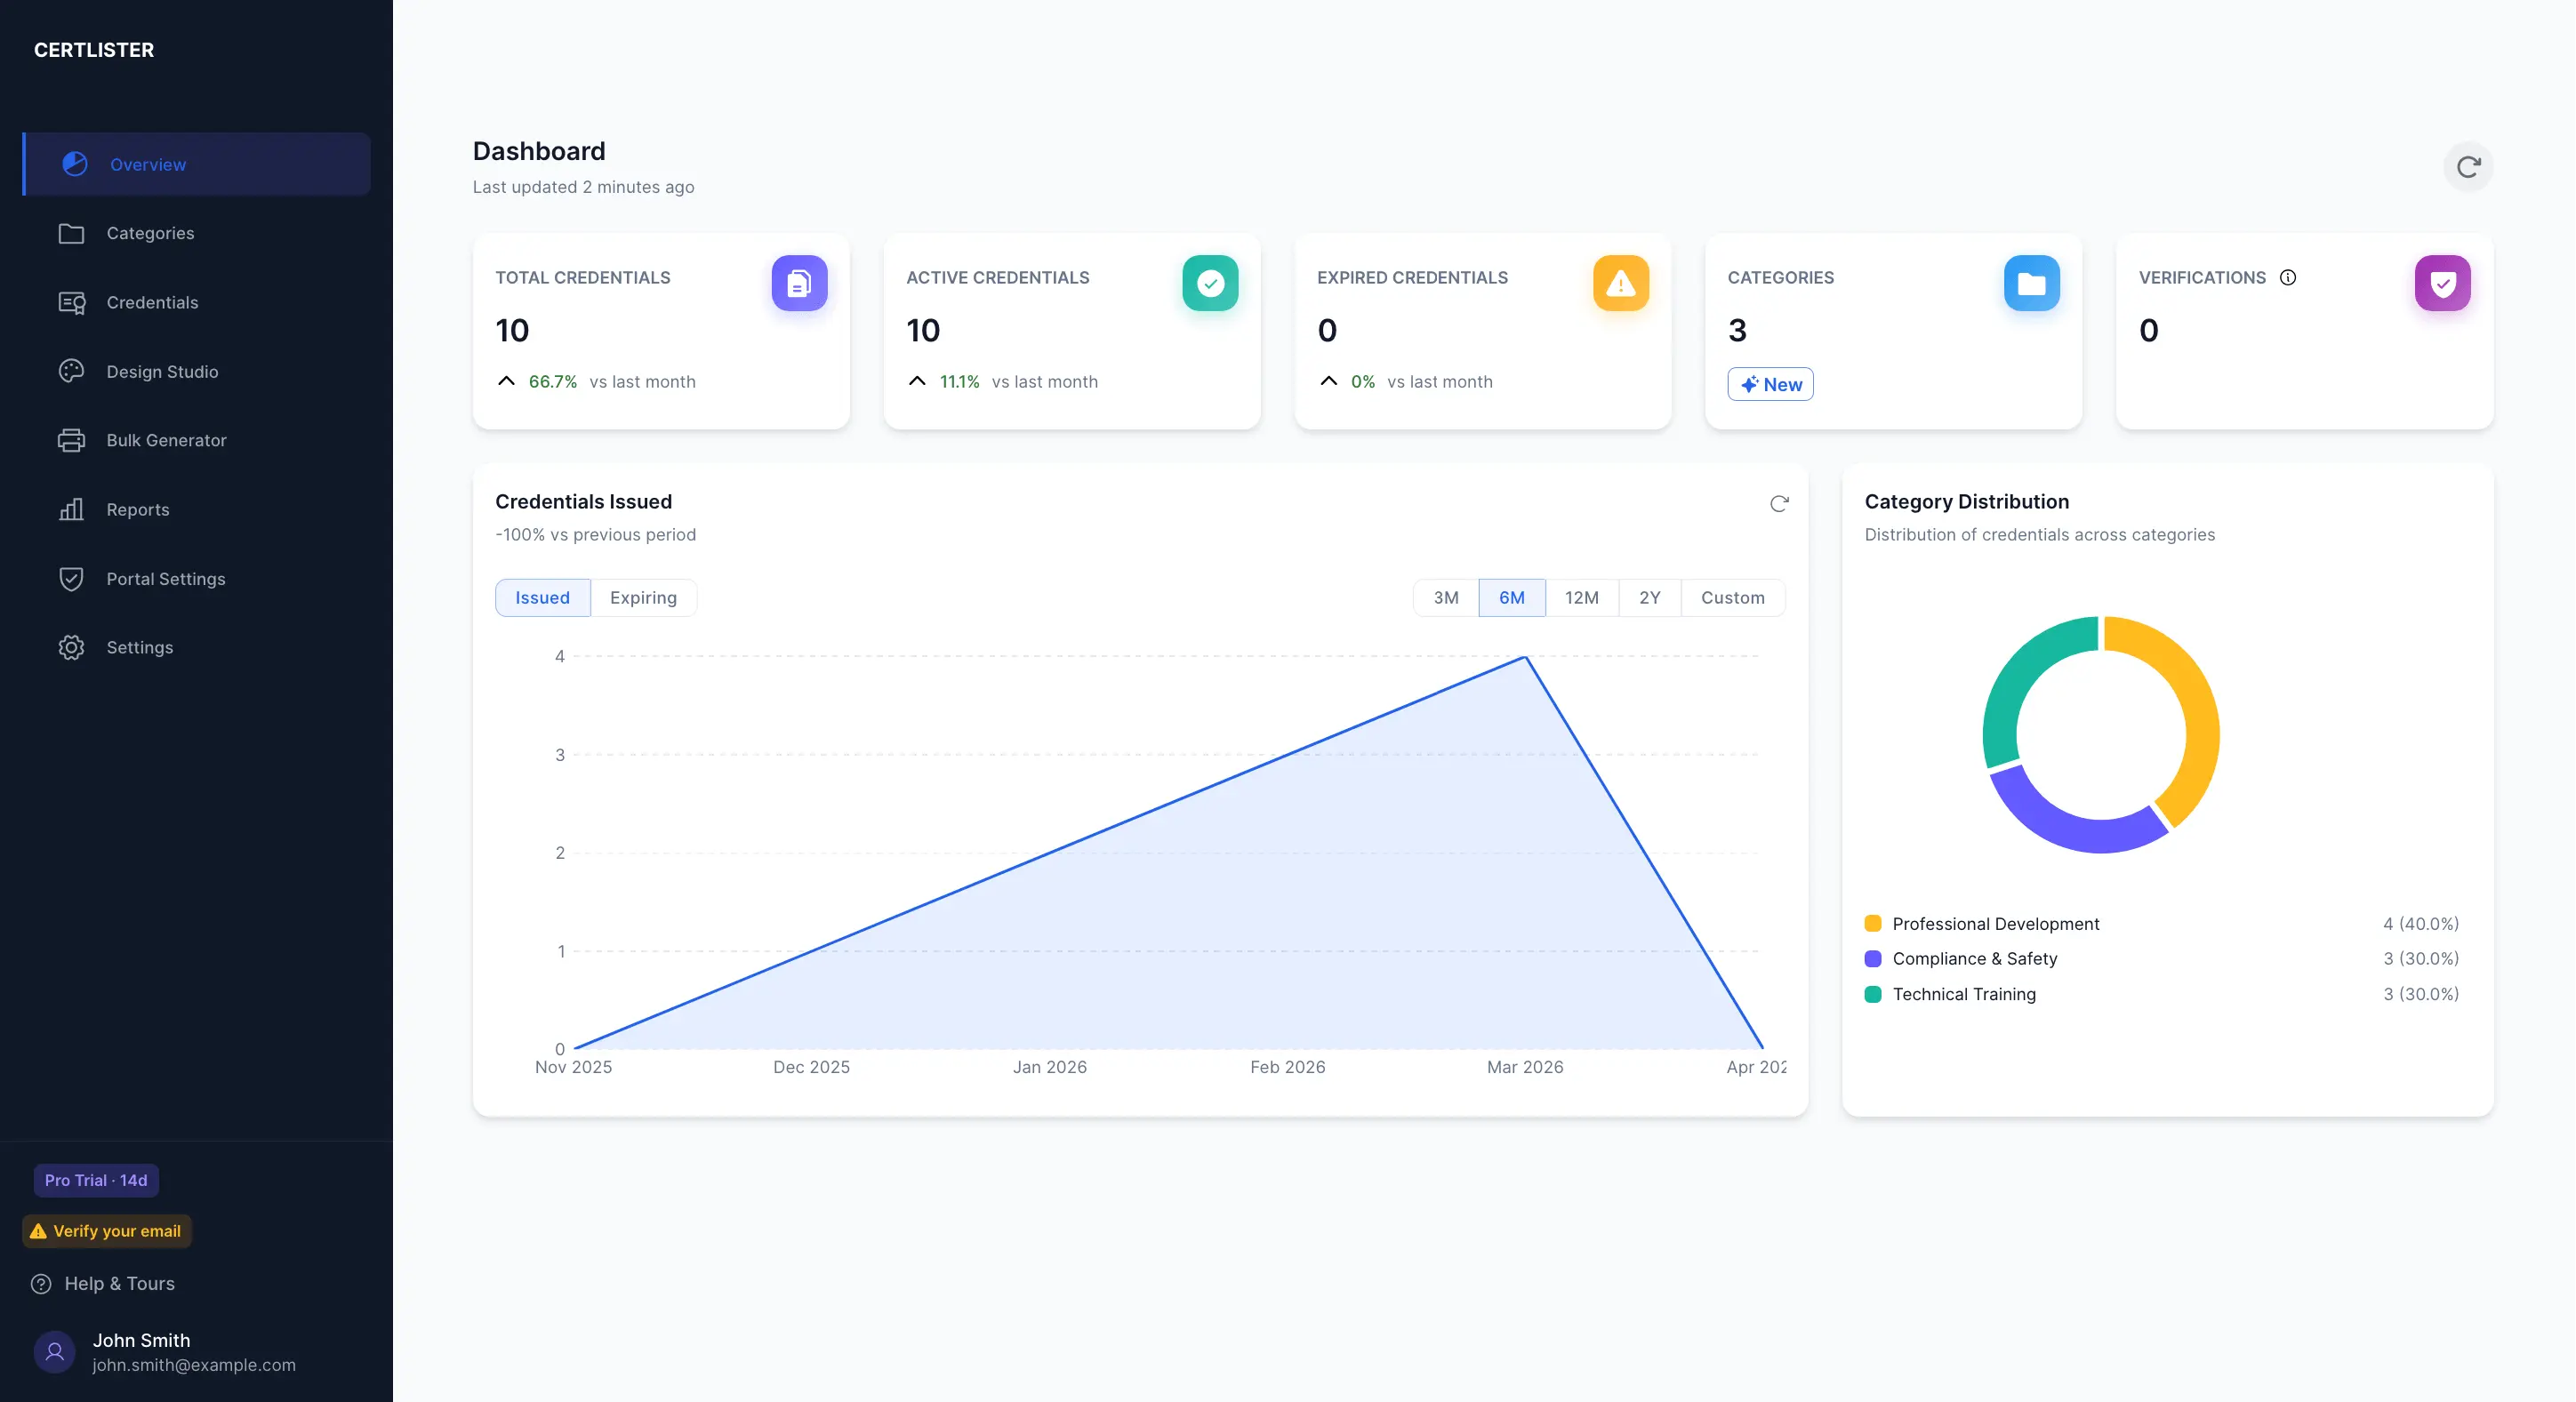
| Overview (dashboard) | Stats at a glance — total, active, expired, categories |
| Credentials | List, search, filter, and manage all credentials |
| Generate PDFs | Bulk-generate PDFs for credentials that don't have one yet |
| Categories | Create and manage credential types |
| Verify | Your public verification portal and its embed code |
| Portal Settings | Configure your verify portal, embed widget, and branding |
| Settings | Organization profile, team members, customization, billing |
Recommended Next Steps
- Create your account → — step-by-step sign-up guide
- Issue your first credential → — full walkthrough
- Design Studio → — build your credential layout
- Plans & Billing → — compare Free, Basic, and Pro features
Getting Help
Browse the rest of the Help Center, or email support@certlister.com — we respond within 24 hours on business days.